Showing posts with label embossing folder. Show all posts

Wednesday, November 11, 2015

New Kitty Card and More...

Hi all!  Today, I am showcasing a card from Imagine That Digi Stamps by Kris.  The name of the stamp set is Hanging Kitty.  I think this set is just adorable.  I printed the image on watercolor paper and colored it with watercolors.  The image was cut out and mounted with Spellbinder dies and embossing folder.  I added a circle of gold gel pen around the circle and added some Christmas ribbon to the bottom of the card.  The inside says "have a pawsome holiday".


I am including several other cards that I have been working on these past few weeks.  I have been really busy with special orders, etc.

 I just love this saying...

 ...and let's not forget Chanukah...


I love this character!  His name is Pipi and you will probably be seeing more of him.

Hope you enjoyed your visit.

Till next time...

Saturday, August 22, 2015

August 21, 2015

Hi all.  I have a few cards to show you and one for the Imagine That Digi Stamps design team inspiration.  The first card is just that.  The set is called Chef Freddy.  I colored the image with alcohol markers but put him on the inside of the card.  For the outside of the card, I cut some circles and framed him so his face showed through the frame.  I used some of the designer paper from the set and added a die cut happy birthday and a bow on the top.  The sentiment on the inside is from the set.


My next card is an Oriental one that I did with embossing paste and a brass stencil.  I used white paste and Inktense blocks to scrape some black and some red color so that I could emboss with 2 different colors.   This was one of my first attempts at stencil embossing.  I am really pleased  with  the way it turned out.  The Kanji symbol means love.  For the background, I did another new technique where I dry embossed the black background with an Oriental design and covered the debossed side with silver Gelato and got the great metal effect.  I used red embroidery thread to finish it off.


The last card that I am showcasing is made from a Zentangle Inspired Art (ZIA) piece that I did.  I tangled in the digi image, cut out the larger heart shape and mounted it on a black tile (card stock).  I punched the design and added some black paper behind the punched front and the black bow on top.   I realized that I have so many Zentangle projects that I really didn't know what to do with so I thought I would make some of them in to cards.


Be sure to check out the Imagine That Digi Stamps Designers Choice Awards.  We have our first winner!

Till next time...
                                       

Monday, February 9, 2015

February Digi of the Month

Hi all.  I am a bit behind on getting my Digi of the Month (D.O.T.M.) DT inspiration card done.  I have finished it and would like everyone to get a chance to play in this month's challenge.  If you played last month, you should already have the new stamp set called Mailbox Kitties.  If not, you can purchase it from the store.  The price has been reduced from $3.00 to $1.95.  In fact, all of the older stamps have been reduced!  There is even a new category of $1 digis.  Now is the time to go to the store and pick up the ones that you don't already own.  My DT card for this month was done a little differently from what I usually do.  After I colored the image with alcohol markers, I fussy cut it and made several layers to place the image onto.  I used a lace heart doily, a couple of layers of cardstock, one of which I dry embossed with my heart embossing folder.  I used my new ribbon from the Dollar Tree and added a couple of threaded buttons.  


Don't forget to play along with our Feb. Digi of the Month challenge.  Please be sure to check out the other designers' projects while you are at the site.  

Till next time...


Sunday, October 19, 2014

Nuts About You!

I just love these Humphrey images from Imagine That Digis.  This one is Humphrey holding an acorn.  I dry embossed the background with a leaves embossing folder.  I cut out the image with a Nestabilities Die and Then cut a frame with the same shape, only larger.  I added 4 brads and that was that.  Hope you enjoy it...


It's not too late to play the Progressive Challenge over at Imagine That Digis.  The theme this month is Breast Cancer Awareness.  The digi that we are using is adorable!  Check it out!

Till next time...

Saturday, September 13, 2014

Humphrey's Apples

Hi all.  For the September challenge at Imagine That Digis, we are doing something different.  Instead of using a particular stamp for the Progressive Challenge, we are letting you choose any image from Imagine That Digis.  It can be from the past or from one of the new sets in the store.   As usual, everyone who plays, will get next month's image for free.  Sounds good doesn't it?

There are some wonderful new digis that have just recently been released.  Be sure to check them out.

I used the new Humphrey's Apples digi for my project.  I love the new Humphrey's sets and I had a hard time deciding which one to do!  

The image was colored with Copic & Sharpie markers and then mounted on a piece of designer paper.  I wrapped 2 corners with baker's twine and added 2 brads in the other corners.  I also added some fake stitches around the image with a white gel pen.  The card base was embossed and I 
swiped a Ranger's Distress ink over it to make the details show up.


I hope you will play along with us this month.

Till next time...

Tuesday, August 19, 2014

A COUPLE OF MY RECENT CARDS...

Hi all!
I have been trying to keep busy lately with my card making.  I thought I would show you a couple of my latest cards... The first one was stamped with a very large butterfly image and heat embossed with ultra fine black embossing powder.  I colored it with only 2 Copic markers.  I placed the card front on my Cuttlebug plate and taped each die cut so they would not move.  I cut the entire thing in one passing.  After that, I used pop dots, graduating each layer so that I ended with 5 layers of pop dots on the center piece.  I love the effect of this technique.
The second card was made for my sister's birthday.  I used a digital image and colored it with colored pencils.  I die cut the image and also cut a piece of black card stock with the same die.  I cut the black one in half and made a partial frame with it.  I wanted it to give some contrast against the pink, embossed piece of card stock.  I layered them on a white card base.
I hope you enjoy seeing what else I do (when I am not doing design team work!  ;-)

Until next time...

Sunday, July 20, 2014

Rainy Day Fun

Hi all.  Today I am posting a Throwback Thursday (even though it is Sunday).  I live in Florida and we get tremendous amounts of rain in the summer.  This particular image was from a while back, but I thought it was appropriate to make it now.  The name of the file is Rainy Day Fun.  My medium, this time, was colored pencils.  I decided to give the markers a break.  I wanted to do something different, so I used Nestabilities dies to cut 2 windows showing the face of the girl and the duck.  I used the larger, positive piece to pop up on the top with hello stamped on it.  I used an embossing folder of clouds as well as an edge folder and scored some lines.  When you open the card, you can see the entire image.  This is not my usual style and I thought it turned out very cute, however, it is not easy lining up the image with the windows.  Don't try this at home, boys and girls!  ;-)

Outside of card

Inside of card


Unfortunately, the pic of the front looks like it was debossed instead of embossed.  It really looks better in person than it does in the pictures.
I will be posting some more cards real soon, so don't forget to check back.  Also, it is not too late to enter the progressive digi challenge here.  You can get a free digi.  see the blog for details.

Till next time...

Sunday, June 1, 2014

Imagine That Digi Stamps Progressive Challenge

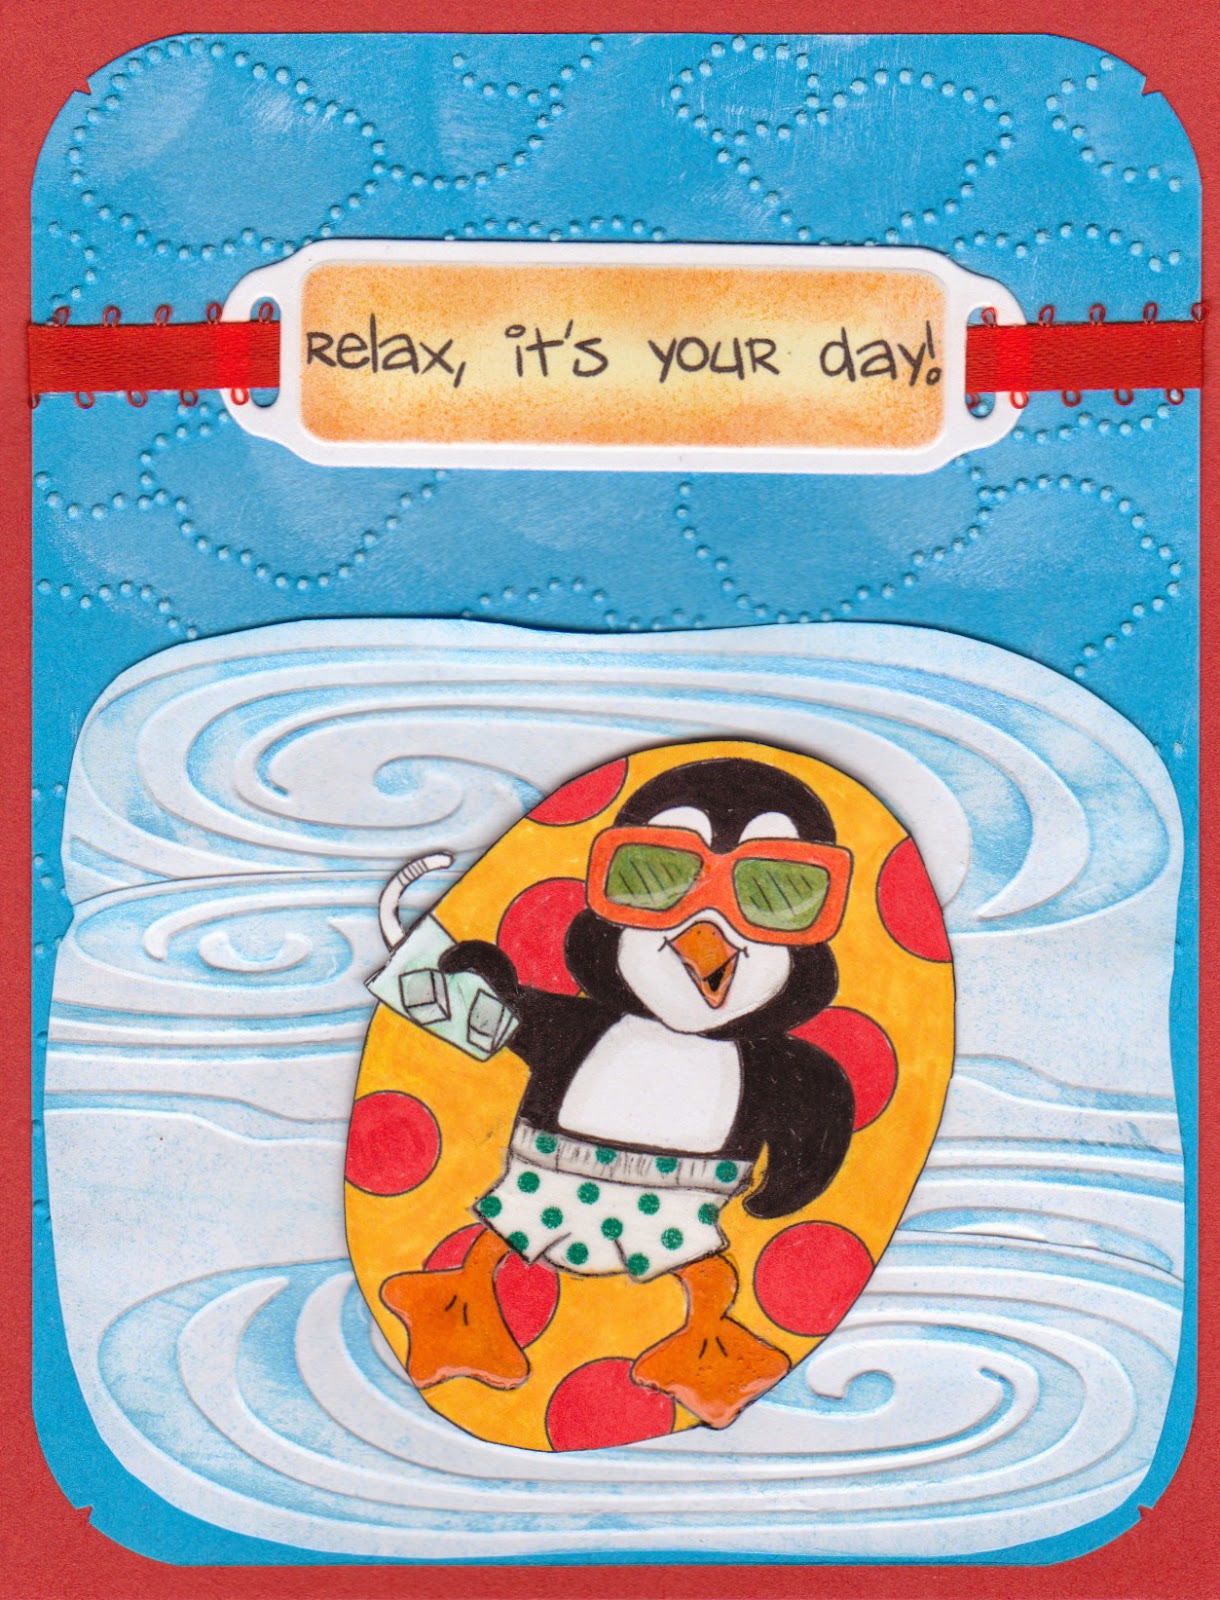
Hi all.  I am back to work with the Imagine That Digi Stamp Progressive Challenge.  The name of the  set is called Poolside Penguins.  It is so adorable.  I'm glad that I didn't miss this one, while I was on hiatus.  I colored the image with Copic markers and paper pieced the swim trunks with washi tape.  That was a first for me!  I did some embossing for the water and cloud background.  The water background was actually cut up from a folder that had fish in it.  I didn't like the look, so...I cut them out and pieced it back together, without the fish...


Now it's your turn to use this free image, if you played in May.  If you didn't, you can purchase the entire set for $3.00 in the store.  Then, if you use anyone of the images in this month's challenge, you will be eligible to receive the challenge digi for next month, for free!


Don't forget to leave me a comment.  I need some lov'in right now!  I have had a difficult couple of months!  Also, be sure to check out what some of the other design team members are doing.

Till next time...


Thursday, February 27, 2014

February Flowers

Hi all.  It has been over 2 weeks since I have posted here.  I was in NYC for my Carnegie Hall concert.  We were up there for 5 days and of course I came back sick.  I have been staying in bed as much as I can, trying to nurse myself back to health!  The concert went very well and it was quite thrilling to be on that big stage with a full orchestra and almost 300 people singing!  It is an experience that I will always remember!  Anyway, back to my card.  This is for the Imagine That Design Team.  I didn't realize that the images were 3 separate files so I put them together on one card.  I really love how it turned out with the 3 images together.  When I showed it to my husband, he loved it so much that he said he wanted to keep it himself.  He didn't want me to send it or sell it!  I sure hope everyone else likes it also.  The images were colored with Copic and Spectrum Noir markers.  I cut it out with a Nestabilities die and sponged it while it was still in the die.  I pop dotted the image on a piece of iridescent blue/green card stock that I dry embossed with a horizontal script folder.  Enjoy my "husband's" new card and don't forget to leave me a comment!
I love to hear from you.


Till next time...